
Effective Ways to Take Better Care of Your Commercial Grease Trap Effectively
Looking after your commercial grease trap does more than satisfy local codes—it keeps your kitchen running smoothly day to day. Your kitchen sends fats, oils, and grease down the drain with every meal service. These substances would wreck your plumbing system without proper intervention.
A properly functioning grease separator catches these troublemakers before they solidify in your pipes, saving you from costly emergency calls and potential health department citations. Too many kitchen managers ignore their grease trap until disaster strikes, but consistent upkeep prevents those expensive breakdowns and helps avoid unexpected kitchen shutdowns.
Understanding Your Grease Trap System
The basic function of any grease separator involves slowing water movement from sinks and dishwashers long enough for separation to occur naturally. Fats rise to the surface, solid food waste drops to the bottom, and relatively clean water passes through the middle section into your sewer connection.
Your specific kitchen needs will determine which grease separator tank suits your operation best, with factors like meal count and menu type playing major roles. Busy establishments cooking lots of fried foods need heavy-duty units capable of capturing large amounts of grease between service visits.
The Cleaning Schedule That Works
How often you clean depends entirely on what comes out of your kitchen and how big your grease separator tank is. Health inspectors typically want to see cleaning documentation showing service every one to three months, though busier operations may need weekly attention.
Watch for warning signs like backed-up sinks, strange smells near drains, or unusual plumbing noises that suggest your trap needs immediate cleaning. Staying ahead with scheduled maintenance costs far less than dealing with backed-up systems that could force you to close during peak business hours.
Step-by-Step Cleaning Process
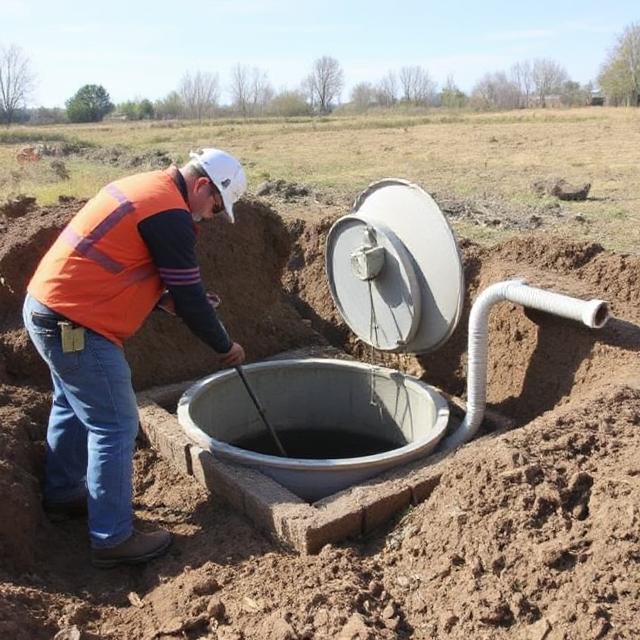
Before starting, lay down plastic sheets around the work area and gather waste containers for the trapped materials. Wear heavy-duty rubber gloves, protective eyewear, and work clothes since this job gets messy fast. Open the lid with care, as the pressure can build up inside the grease separator, causing nasty splashes.
Take measurements of both the floating grease layer and bottom sediment, recording these figures for your required documentation. Use a specialized scoop to remove the top grease layer first, placing this waste in appropriate containers for disposal.
Check what your specific grease separator manufacturer recommends for cleaning steps, as following their guidelines protects both your equipment and warranty coverage. After removing the grease cap, pump or vacuum out the middle water layer, then tackle the bottom sediment, which usually creates the worst smells.
Take apart removable components like internal baffles and screen filters for thorough cleaning with hot water and a commercial degreaser, looking closely for damaged parts that might need replacement.
Effective grease trap maintenance isn’t just about avoiding problems—it’s about optimizing your kitchen’s operation. A well-maintained grease separator protects your plumbing, prevents costly emergency repairs, and helps you stay compliant with local regulations.
By understanding how your system works and following a regular maintenance schedule, you can extend the life of your equipment and avoid the disruption of unexpected failures. Make grease trap maintenance part of your standard kitchen management routine, and you’ll enjoy smoother operations with fewer expensive surprises.
Also Read: What is the benefit of installing grease trap for restaurants?


